
Every household has at least one glue bottle. Yep, I am not sure if there is any parent who avoids using glue. If you do hats off to you. Glue comes in different forms. These days glue bottles are even becoming more and more ornate. You may walk into a store you find yourself buying glue just because you like how it looks. If that has happened to you comment below.
How To Make Printed Art Using Glue Bottles
Here is a fun simple idea you can try if you like being creative with your children. You would need those glue bottles or glue stick empties that you usually throw away.
You can create simple printed artwork with your children using your empty glue bottle and containers. It’s surprising to find that you can use any part of the glue bottle to create your printed artwork. Children love doing art, I don’t know any child that I have encountered that doesn’t enjoy some form of art. So this activity is no exception. Add it to your to-do list. This printmaking activity is perfect for preschoolers to 7-year-olds. You can do this activity just for fun or you can use it to reinforce a lesson.
Read on I have shared a few simple low prep lessons you can do with your preschool kids using this simple idea. You will love it and your kids will too.
Use Glue Bottle Printing as part of a lesson.
As a homeschooling mom, you may sometimes want to use simple ideas to teach children a particular lesson. I have used this to help my son with counting. Here are three simple lessons you can try.
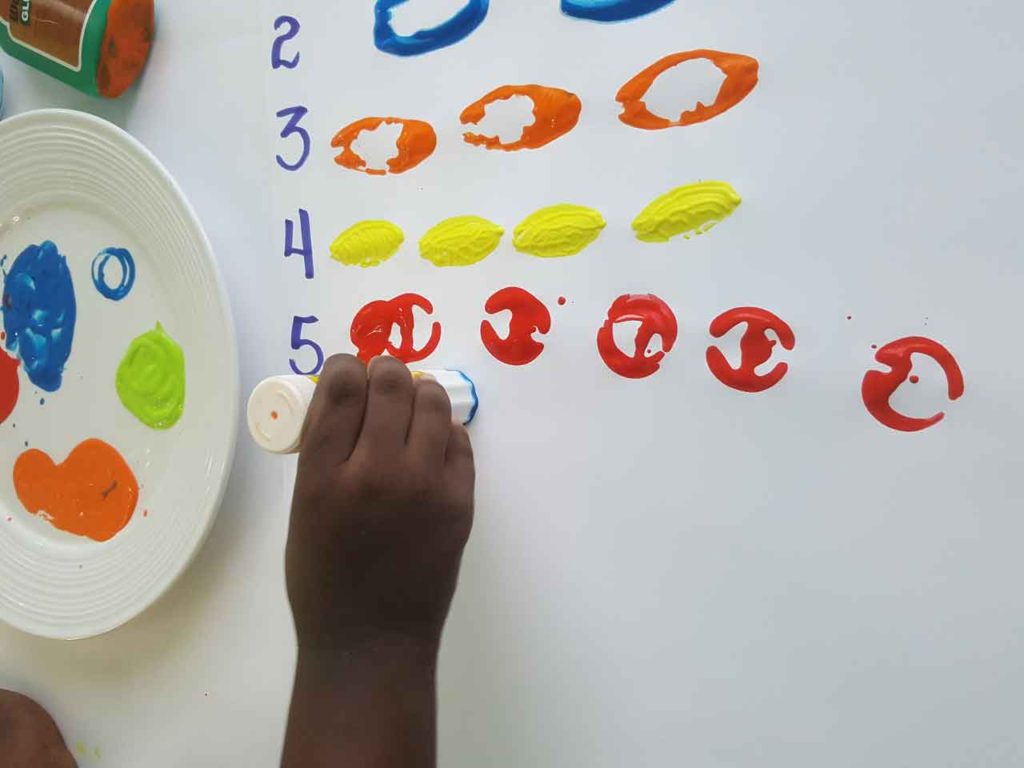
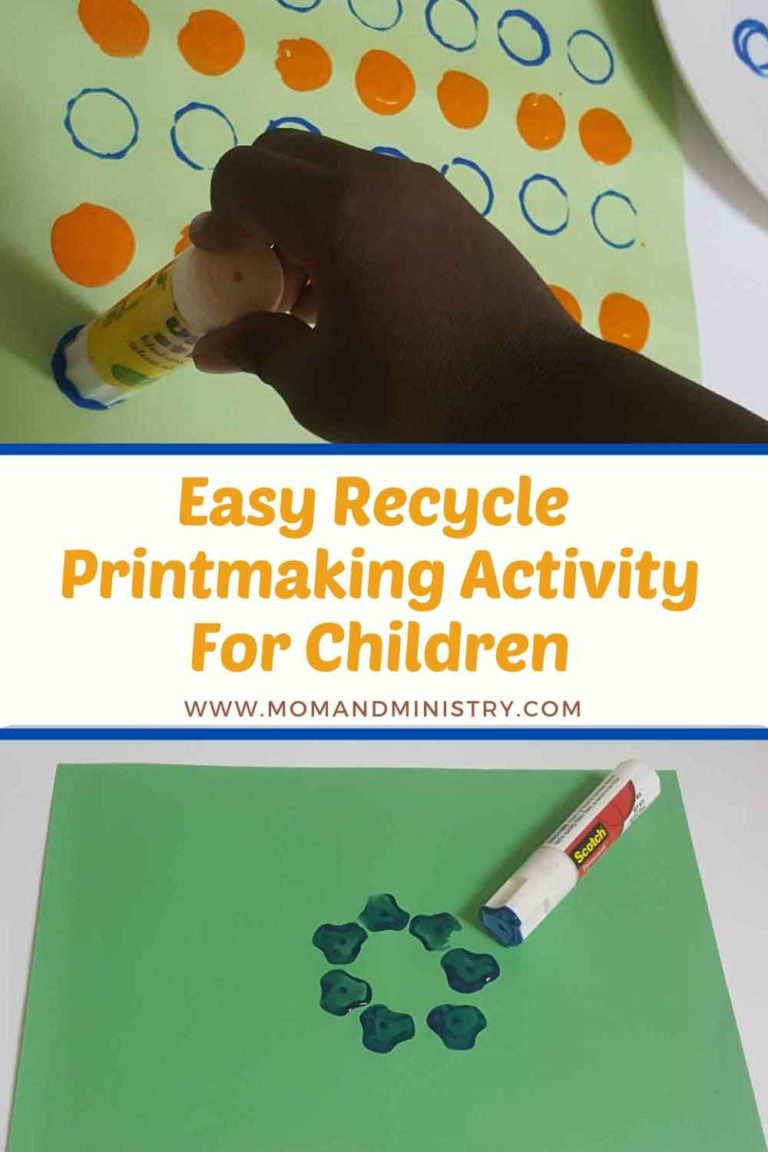
Print the correct amount next to the number.
Try this Lesson Idea with your preschoolers – It’s very simple and great for preschoolers. Write the numbers 1 to 10 on a large white sheet of paper. Using the cover of the glue stick or the cover of the glue bottle encourage your child to print the correct number of prints by each number they see. It’s a simple fun way to help them creatively count from one to ten. My son uses different size glue bottles to help print the smaller numbers from 1 to three and then used the covers to make the larger numbers. It’s also good to have three to five colors that they can choose from.
Lesson idea 2 - Color mixing
Here is another great and simple way to add a lesson aspect to this glue bottle printing activity. Have your child mix colors together.
Before doing the prints have the child mix two colors together and print using the color that they mixed. You can stick to mixing secondary colors. You can also have them make tones and shades. This activity takes a bit more time but it’s fun when your child discovers the color they mixed and how it looks when they print with that color.
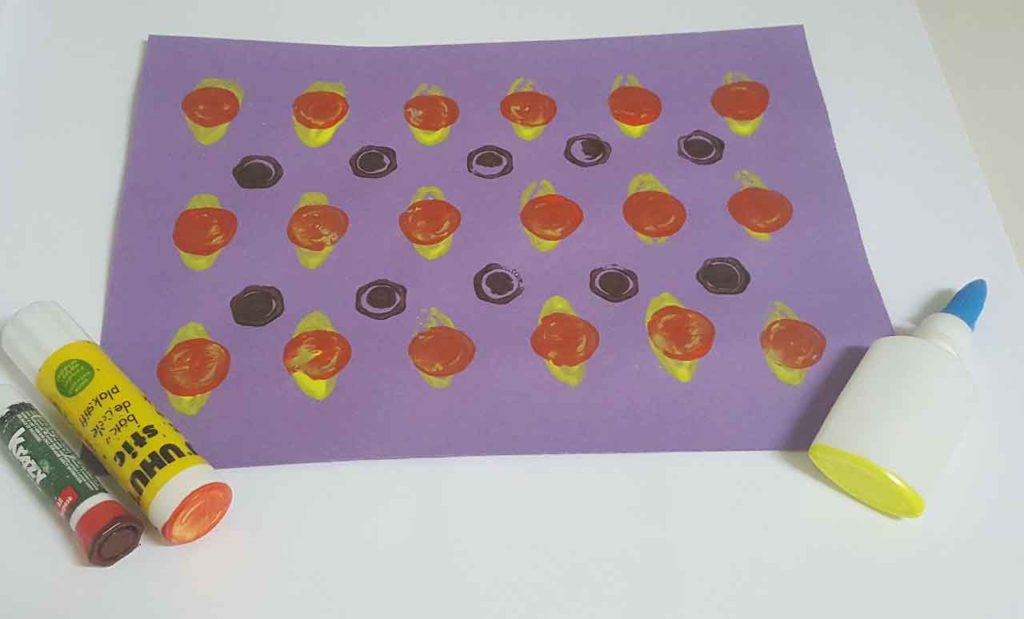
Lesson Idea 3 - Creating simple patterns and layers
This is a simple process art activity. Use the different bottles to create patterns and layers of printing. This is great for older children. It will challenge their creative ability and help them create beautiful simple artwork that they can share with others or maybe even sell at a small cost. Have the child use a different color for each layer or pattern they want to do using the glue bottles. Smaller children may enjoy creating lines of patterns. Older children may find layering more intriguing. If you are trying layering, it may be necessary to allow one layer of paint to dry before adding another.
Create easy, wonderful prints from glue bottles
Let’s look at the step in preparing for your glue bottle printing art and what you will need. I have broken it down into two methods.
Method 1 – Prints with empty glue stick holders
Here’s what you’ll need
Those empty glue stick containers you usually throw away.
Poster paint or acrylic paint
A disposable plate or something to hold your paint
Paper
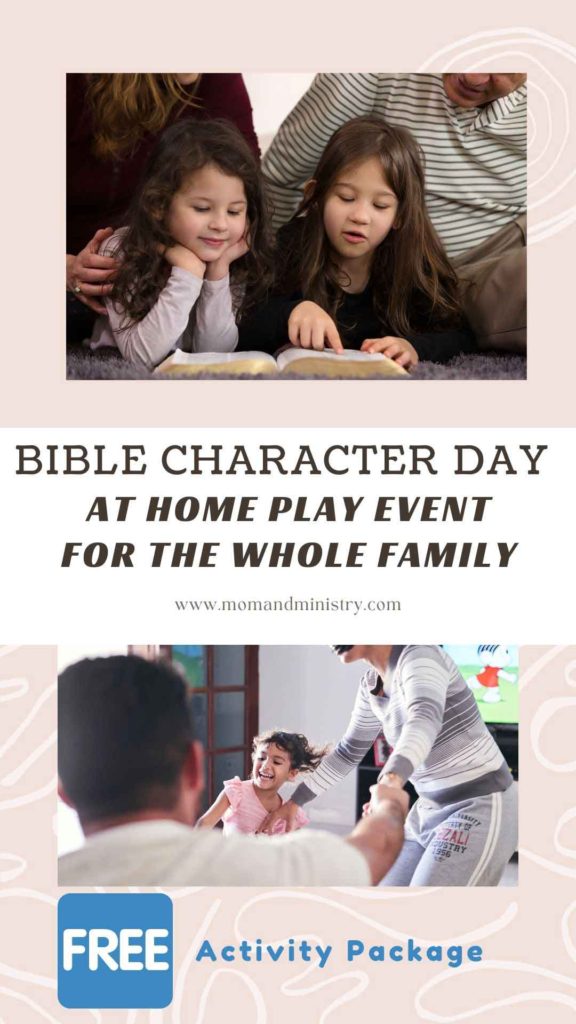
Here is a great family activity for you to try
including free resources to help you
Bible Character Play Event
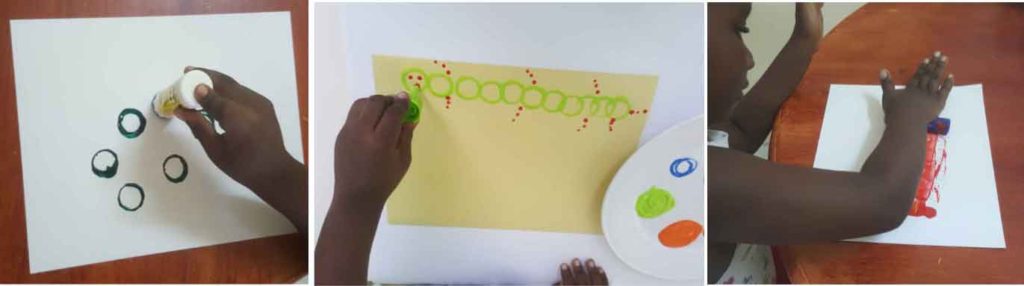
Glue stick cover, Glue bottle covers – For an easy start you can print using the empty glue bottle holders. You can use the covers to make two different prints. Glue stick covers are hollow on one side and solid on the other. So the cover can create two different prints. Glue bottle covers also give two different prints. The tips of the give a different impression and the base of the cover also. Lots of fun to explore. Let your child’s creative juice flow as they print with these glue stick covers.
Glue stick holder as roller printer – You can also use the glue stick container as a roller printer of course your child’s hand will get messy after all they are painting, so be sure they wear a smock or art apron. Along with using the container as a roller.
Bottom of glue stick – The bottom of the glue stick container can also be used to create another print. Just as the cover the bottom is hollow so you will get a different effect with your print.
Method 2 – Prints with bottoms empty glue bottles
There are so many shapes you can create from the bottoms of your glue bottles. There are glue bottles where the bottoms are round, square, rectangular, or oval in shape.
Here’s what you’ll need
Empty glue bottles which you would usually throw away.
Poster paint or acrylic paint
A disposable plate to hold your paint
Paper
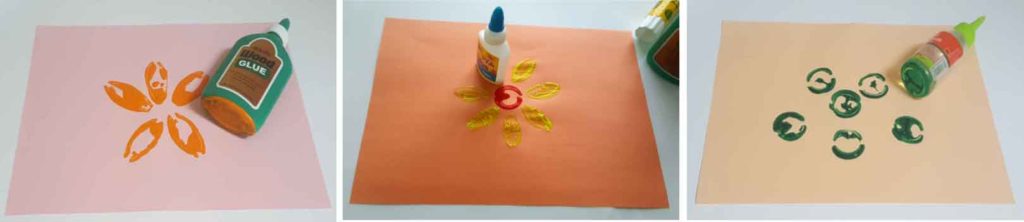
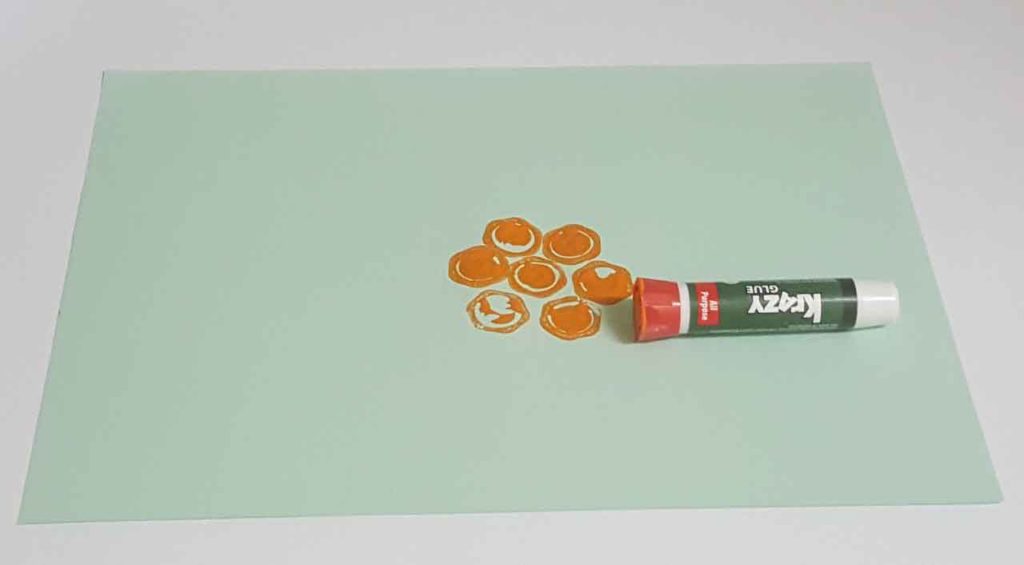
Place your chosen color paints on the plate and go right ahead and dip the bottom of the bottles you selected into your paint and print.
Do ensure not to over coat the bottom of the bottle with paint, so that you will be able to make a clean print. It may help not to put a large amount of paint for dipping the bottom of the bottle into.
I like to dilute the paint so that they are a bit thinner more watery consistency, especially if using acrylic paint. The prints are easier to make when the paint is more fluid. However, do be careful not too much water to cause it to may cause the paper to get too wet. Explore all the designs you and your children can come up with. Here are some of ours.
Try Printing on Different Types Of PAper
A fun twist to doing this glue bottle printing activity is that you can also experiment and print on different types of paper. I have used plain white sheets of paper, construction paper, cardstock, and colored sheets of paper. You can even try printing on canvas if you’d like.
Do try and let me know in the comments how it goes.
cHECK oUT tHIS POST!
Domino 2D Shape Game
I hope that as you and your child try this activity you will have as much fun as I had with my children do these prints.
Do share the goodness with friends.
Add this pin to one of your boards on Pinterest.
Here are some other creative ideas you can try with your kids.
DIY Montessori Shape Matching Activity For Toddlers
You’re so great! Thank you for your support! Do stay safe and blessed. And as always thank you for reading this post.
I love the idea of making the flower with the glue bottoms. Really looks lovely
Thanks Cindy Be sure to try some