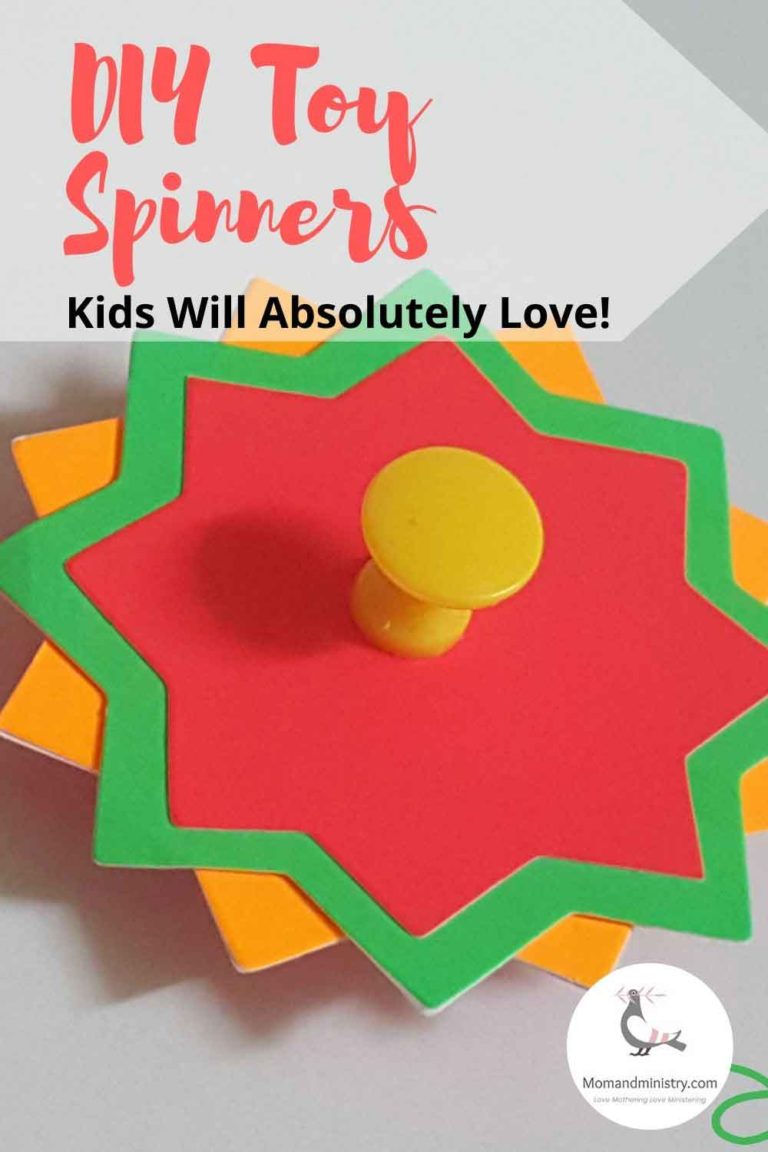
How To Make Fun Easy Paper Spinners For 4 – 6-year-olds
These DIY paper spinners are so much fun. It’s a new spin on an old classic and I want to share it with you. This little wonder is effortless to make, affordable and entertaining fun for the young and the young at heart. Toddlers and children are always fascinated with tops because of their spinning motion.
Give yourself about 10 – 15 minutes to make a few of these tops. Keep them from getting wet they’ll last a very long time. In addition, you can laminate them to increase the life span. Your toddlers will love you for it. Probably you have noticed in a previous post that I am a big fan of using what you already have. In other words, spend minimal whilst having tons of fun. With this DIY Star top, it’s no different.
This blog post contains Amazon and other affiliate links. As an Amazon Associate I earn a commission from qualifying purchases.
Childhood Play
Certainly, you may remember playing with tops as a child? Ooh, how they have evolved. I recall having one or two of my own, the colorful wooden ones, and couldn’t stop playing with them. Well, I was taken aback so I decided to try a new approach, that you can try and enjoy too. My son loved it from the start, the top was spinning and he was spinning too. This DIY toy top is guaranteed toddler-approved fun.
Tops or spinners are great for helping toddlers and children develop fine motor skills and even some gross motor skills too depending on how they play with them. So help them and have some fun!
In addition to these, for more on simple motor skill builders for toddlers.
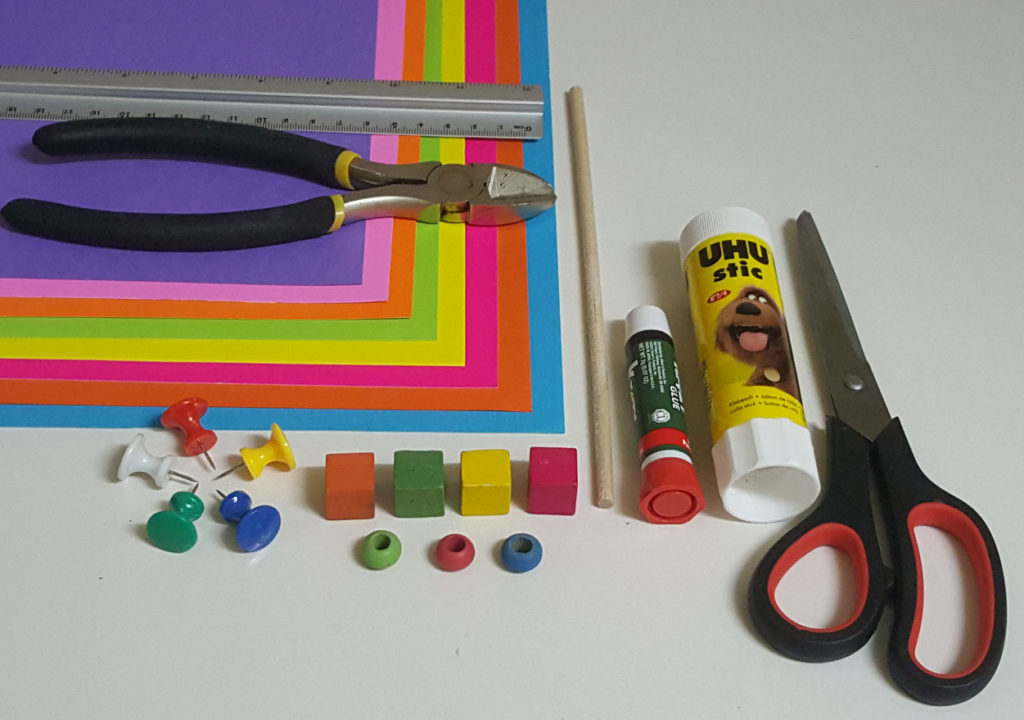
Here’s What you’ll Need For Your DIY Paper Spinners
Step By Step Guide For DIY Star Top Toys
It’s not complicated at all
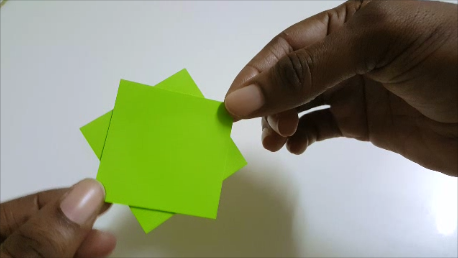
Firstly, make your template – Draw squares on the cardstock. You will need two squares for each of the sizes you choose. Have a few sizes, two inches, one and a half inches, and 2 and a half inches. Stick the squares together to form a “star”. Feel free to explore and try other sizes. It is totally up to you. It should look like this when you are done.
Secondly, copy the template onto different color cardstock and cut out as many stars as you need for the tops you want to make. Cardstock that has color on both sides really works best. However, I have found that those with color on just one side are a bit sturdier in weight.
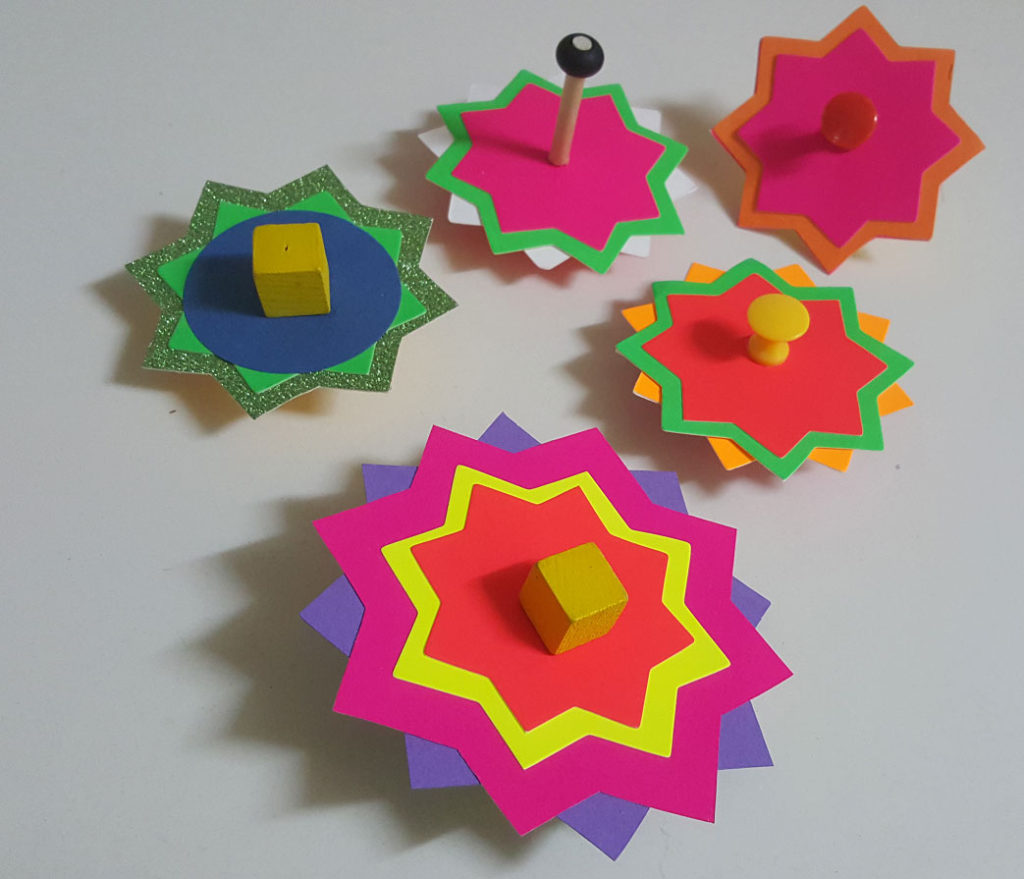
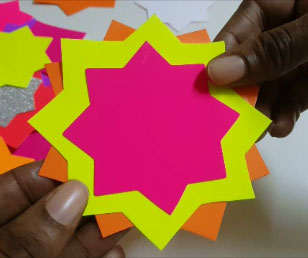
Thirdly, stack your stars for your DIY star tops. Here’s where the fun begins. When you start you might find yourself trying so many different patterns that’s when you recognize how much fun they are to make.
Your toddler can assist also. They put their own spin on it, I am sure you know how it goes. Have them choose different color cardstock and stack their stars to create different patterns. It may not be as fancy as yours, but it’s a victory for them.
As you make your top rotate them or stick them symmetrically. Start with the largest star you want to use in the center. Use your glue stick to stick them together. Add stars to the top and the same number to the bottom. I used 4 to 6 stars mostly. Once you are satisfied with your patterns you are ready to move to the next step.
Make Your DIY Paper Spinner SPIN!
You can use a number of items on your top and even decorate them. Most importantly, you will need to have the thumbtack to the bottom in order for it to spin. When it comes to the top you can use, small blocks, beads, a dowel, a spindle, parts of broken toys. Once you can hold it comfortably and it can either be securely stuck to the cardstock or the thumbtack.
Whatever you use be sure won’t want it to come out and cause harm.
The first option –
Attach Two Giant Thumb Tacks – Using cutting pliers, cut away the metal from both of the thumbtacks. Apply Krazy glue and stick to the center of the patterned “star disc” you made. Allow a few seconds to dry. You are done now test for fun!
The second option –
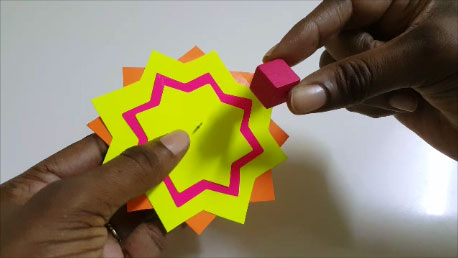
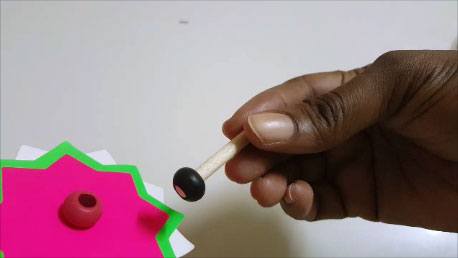
Attach one giant thumb tack and an old toy block. It’s important though to choose something that is similar in weight to the thumbtack and not something that is too heavy to cause the top to wabble out of balance and not spin. Mark the center of the patterned disc. Pierce a hole in the disc using the thumbtack, also pierce a hole in the center of the block you are planning to use on the other side. Add Krazy glue to the thumbtack around the base and pass the point through the hole made earlier. Allow drying. Apply Krazy glue to the block and press into the thumbtack firmly. Allow to dry and test for fun. That’s it option two is done.
The third option –
Attach one giant thumbtack, a one-and-a-half-inch long dowel stick, and a bead to fit the top of the stick. Again mark the center of your patterned disc with and pierce a hole. Use the thumbtack to also pierce a hole in the bottom of the stick. Be careful to be in the center of the stick would split easily. The thumbtack to patterned disc, place bead at the center, stick with Krazy glue. Cut the dowel to an inch and a half long, and place another bead at the top of the dowel. Add Krazy glue around the bottom of the dowel and stick it into the bead over the top of the thumbtack. Be sure it is very secure. That’s it test the fun you are done.
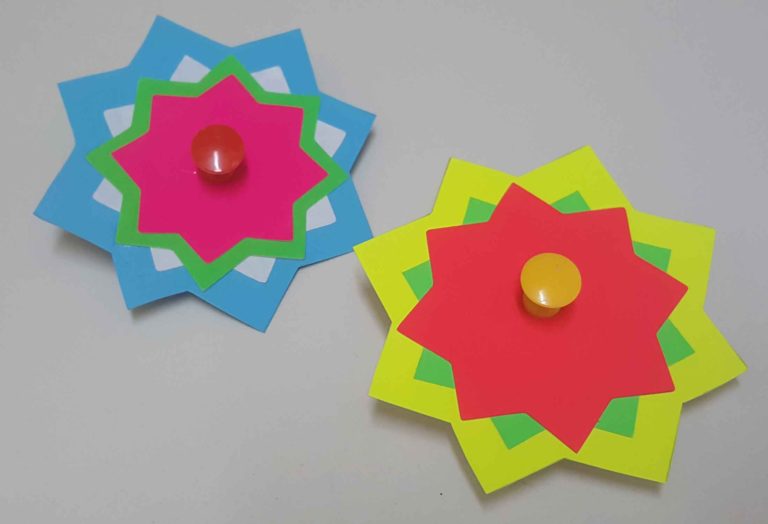
Your DIY Star Toy Spinner is ready for a lot of fun moments. It’s a win for you and a win for them. Try the fun and you will see. Don’t just take my word for it.
Click these pOSTS to Pay Me A Visit
oR PIN THEM FOR LATER
Thank you for your support! Do stay safe and blessed. And as always thank you for reading this post.
We use cookies on our website to give you the most relevant experience by remembering your preferences and repeat visits. By clicking “Accept”, you consent to the use of ALL the cookies.
This website uses cookies to improve your experience while you navigate through the website. Out of these, the cookies that are categorized as necessary are stored on your browser as they are essential for the working of basic functionalities of the website. We also use third-party cookies that help us analyze and understand how you use this website. These cookies will be stored in your browser only with your consent. You also have the option to opt-out of these cookies. But opting out of some of these cookies may affect your browsing experience.
Necessary cookies are absolutely essential for the website to function properly. These cookies ensure basic functionalities and security features of the website, anonymously.
Cookie
Duration
Description
cookielawinfo-checkbox-analytics
11 months
This cookie is set by GDPR Cookie Consent plugin. The cookie is used to store the user consent for the cookies in the category "Analytics".
cookielawinfo-checkbox-functional
11 months
The cookie is set by GDPR cookie consent to record the user consent for the cookies in the category "Functional".
cookielawinfo-checkbox-necessary
11 months
This cookie is set by GDPR Cookie Consent plugin. The cookies is used to store the user consent for the cookies in the category "Necessary".
cookielawinfo-checkbox-others
11 months
This cookie is set by GDPR Cookie Consent plugin. The cookie is used to store the user consent for the cookies in the category "Other.
cookielawinfo-checkbox-performance
11 months
This cookie is set by GDPR Cookie Consent plugin. The cookie is used to store the user consent for the cookies in the category "Performance".
viewed_cookie_policy
11 months
The cookie is set by the GDPR Cookie Consent plugin and is used to store whether or not user has consented to the use of cookies. It does not store any personal data.
Functional cookies help to perform certain functionalities like sharing the content of the website on social media platforms, collect feedbacks, and other third-party features.
Performance cookies are used to understand and analyze the key performance indexes of the website which helps in delivering a better user experience for the visitors.
Analytical cookies are used to understand how visitors interact with the website. These cookies help provide information on metrics the number of visitors, bounce rate, traffic source, etc.
Advertisement cookies are used to provide visitors with relevant ads and marketing campaigns. These cookies track visitors across websites and collect information to provide customized ads.


